在Springboot后端开发中,我们需要与前端协商api,并给出api文档。以往我使用postman进行协作。对于前后端协作,postman还是比较方便的。但对于每一个开发的接口,我们都要重新把路径、接口名、参数注释写到调试工具里,这还是有些麻烦。
Swagger提供了一种解决方案:在后端开发过程中,将api可视化到一个网页中,只需启动后端并访问该页面,即可查看自动化生成的接口文档。另外swagger也支持导出openapi格式的接口,可以直接import到postman中。
下面是springfox提供的swagger在springboot2.7.14中的使用方法(注意:springboot2.6.0后路径策略发生了变化,所以需要第3步的配置):
在pom.xml加入依赖:在Config包里写一个配置类SwaggerConfig.java:
import org.springframework.context.annotation.Bean;
import org.springframework.context.annotation.Configuration;
import springfox.documentation.builders.ApiInfoBuilder;
import springfox.documentation.builders.PathSelectors;
import springfox.documentation.builders.RequestHandlerSelectors;
import springfox.documentation.service.ApiInfo;
import springfox.documentation.spi.DocumentationType;
import springfox.documentation.spring.web.plugins.Docket;
import springfox.documentation.swagger2.annotations.EnableSwagger2;

@Configuration
@EnableSwagger2
public class SwaggerConfig {

    @Bean
    public Docket api() {
        return new Docket(DocumentationType.SWAGGER_2)
                .select()
                .apis(RequestHandlerSelectors.basePackage("com.example.controller")) // 指定扫描Controller包路径
                .paths(PathSelectors.any()) // 匹配所有接口
                .build()
                .apiInfo(apiInfo());
    }

    private ApiInfo apiInfo() {
        return new ApiInfoBuilder()
                .title("山大迷踪API") // 标题
                .description("包含一些接口和模型") // 描述
                .version("1.0.0") // 版本号
                .build();
    }
}
在application.yml中添加配置:
SpringBoot 2.6.0开始,请求路径与Spring MVC处理映射匹配的默认策略已从AntPathMatcher更改为PathPatternParser。但是可以通过设置spring.mvc.pathmatch.matching-strategy为ant-path-matcher来改变。
spring:
  mvc:
    pathmatch:
      matching-strategy: ant_path_matcher
在自己项目的接口上添加Swagger提供的注解:
@RestController
@RequestMapping("/api")
@Api(tags = "订单相关接口")
public class OrderController {

    @GetMapping("/hello")
    @ApiOperation("获取欢迎信息")
    public String getHelloMessage() {
        return "Hello!";
    }
}
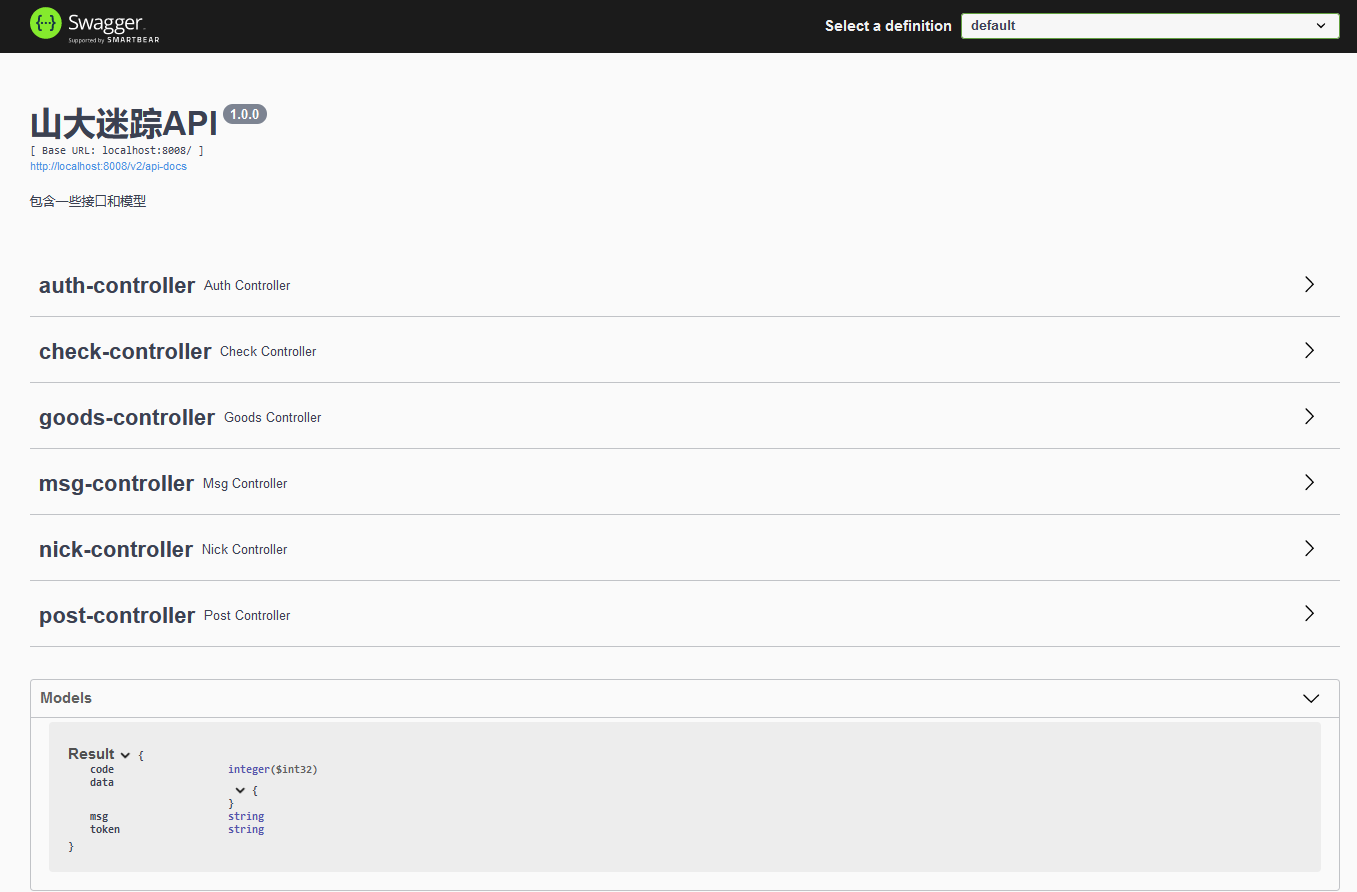
访问Swagger的ui界面:
Swagger各版本访问地址:
2.9.x 访问地址:
http://ip:port/swagger-ui.html
3.0.x 访问地址:
http://ip:port/swagger-ui/index.html
3.0集成knife4j 访问地址:
http://ip:port/doc.html
效果图:

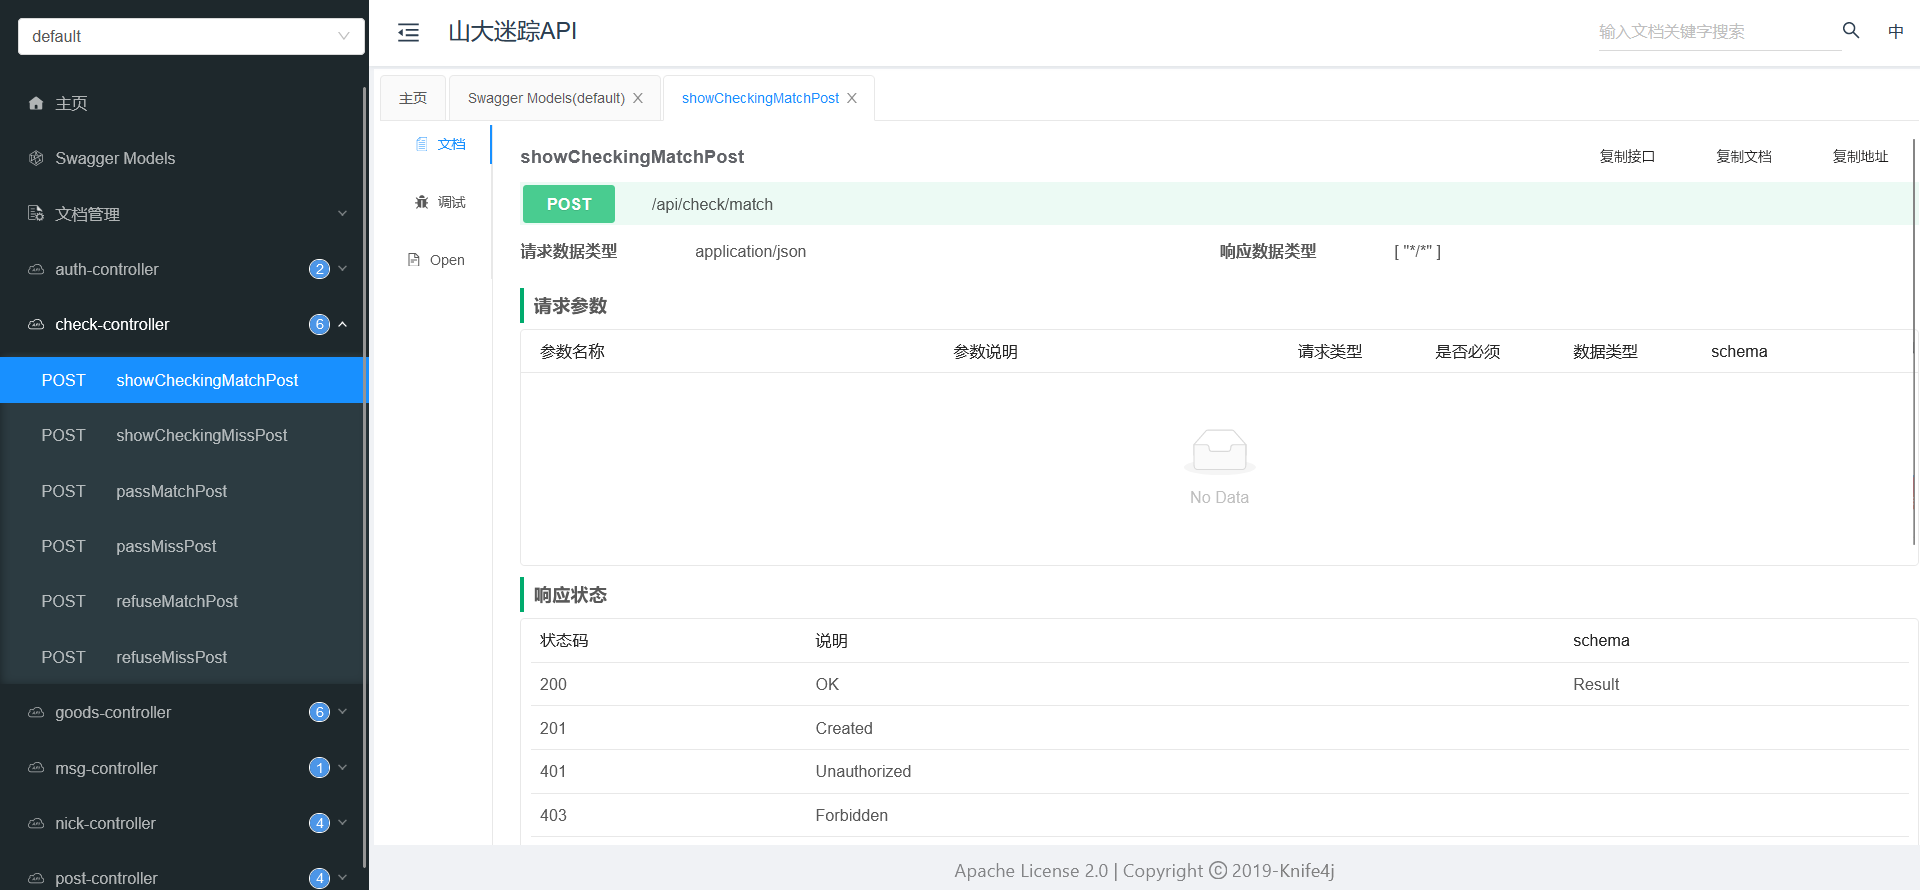
另外,knife4j是springfox-swagger的增强版,knife4j有更好的ui、调试功能。在已经使用swagger的项目中,可以按照下面的步骤引入knife4j(注:高版本knife4j的starter中已经包含了swagger家(springfox或springdoc-openapi)的依赖,需要注意依赖冲突问题):
引入依赖:
<dependency>
    <groupId>com.github.xiaoymin</groupId>
    <artifactId>knife4j-spring-boot-starter</artifactId>
    <version>2.0.4</version>
</dependency>
在刚才的配置类上添加注解@EnableKnife4j:
@Configuration
@EnableSwagger2
@EnableKnife4j
public class SwaggerConfig {
	...
}
运行springboot应用,访问knife4j的ui:
http://ip:port/doc.html效果如下:
