本文按照菜鸟教程的思路速览CSS3的特性
边框
圆角 border-radius
div
{
border:2px solid;
border-radius:25px;
}
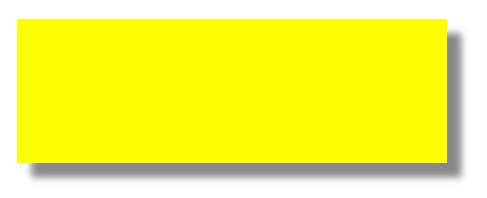
盒阴影 box-shadow
div
{
	width:300px;height:100px;background-color:yellow;
	box-shadow: 10px 10px 5px #888888;/*偏移量、偏移量、模糊范围、阴影颜色*/
}
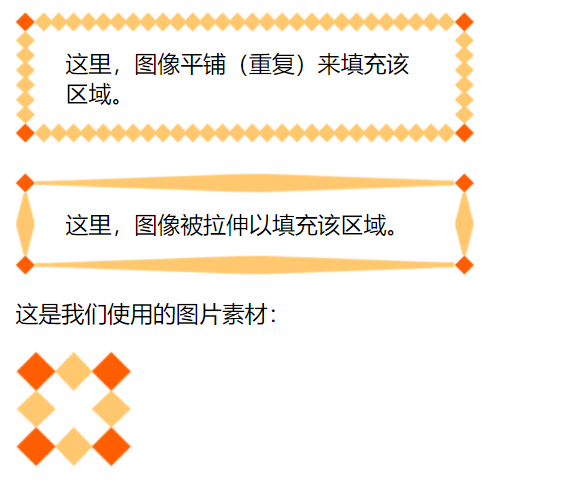
边框图 border-image
#round
{
	border-image:url(border.png) 30 30 round;/*重复平铺*/
}

#stretch
{
	border-image:url(border.png) 30 30 stretch;/*拉伸*/
}
如果细化此属性,有下面几个部分:
- border-image-source:定义边框图像的路径;
- border-image-slice:定义边框图像从什么位置开始分割(分割方式比较复杂,不再描述);
- border-image-width:定义边框图像的厚度(宽度);
- border-image-repeat:定义边框图像的平铺方式。
背景
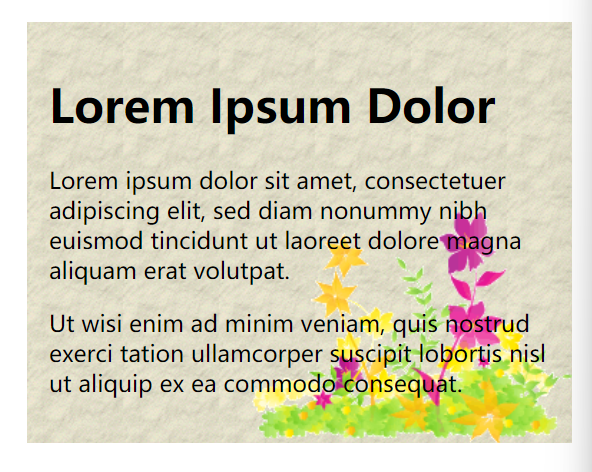
背景图 background-image
#example1 {
    background-image: url(img_flwr.gif), url(paper.gif);
    background-position: right bottom, left top;
    background-repeat: no-repeat, repeat;
    padding: 15px;
}
/*上面的css也可以这样写*/
#example1 {
    background: url(img_flwr.gif) right bottom no-repeat, url(paper.gif) left top repeat;
}
背景大小 background-size
支持接收两个数据:长、宽。
单位可以使像素、百分比
background-origin
background-clip
渐变效果
CSS3 定义了两种类型的渐变(gradients):
- 线性渐变(Linear Gradients)- 向下/向上/向左/向右/对角方向
- 径向渐变(Radial Gradients)- 由它们的中心定义
菜鸟教程的渐变在线工具
线性渐变
background-image: linear-gradient(方向, 颜色1, 颜色2, ...);
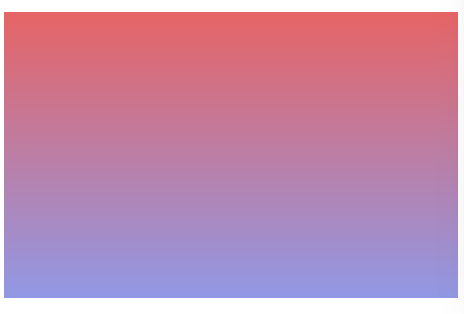
#grad {
    background-image: linear-gradient(#e66465, #9198e5);
}/*不写方向,默认从上到下*/
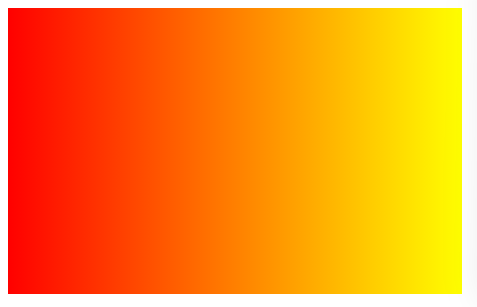
#grad {
  height: 200px;
  background-image: linear-gradient(to right, red , yellow);
}
#grad {
  height: 200px;
  background-image: linear-gradient(to bottom right, red, yellow);
}/*从左上到右下*/
#grad {
  background-image: linear-gradient(-90deg, red, yellow);
}/*延某个角度,0度向上,90度向右*/
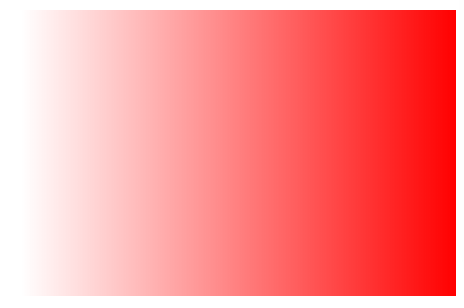
还可以使用rgba()的颜色表示方法,来实现透明度变化的效果:
#grad {
  background-image: linear-gradient(to right, rgba(255,0,0,0), rgba(255,0,0,1));/*rgba的第四位表示透明度,0微透明,1为不透明*/
}
重复线性变换 repeating-linear-gradient
#grad {
  background-image: repeating-linear-gradient(red, yellow 10%, green 20%);
}/* 这里也使用了百分比来控制颜色的比例 */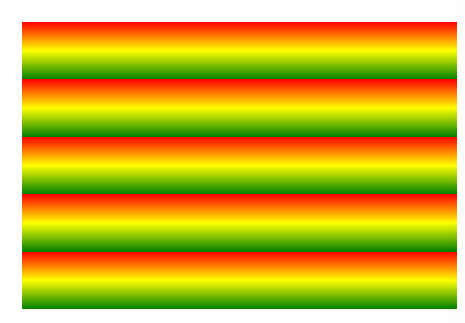
径向渐变
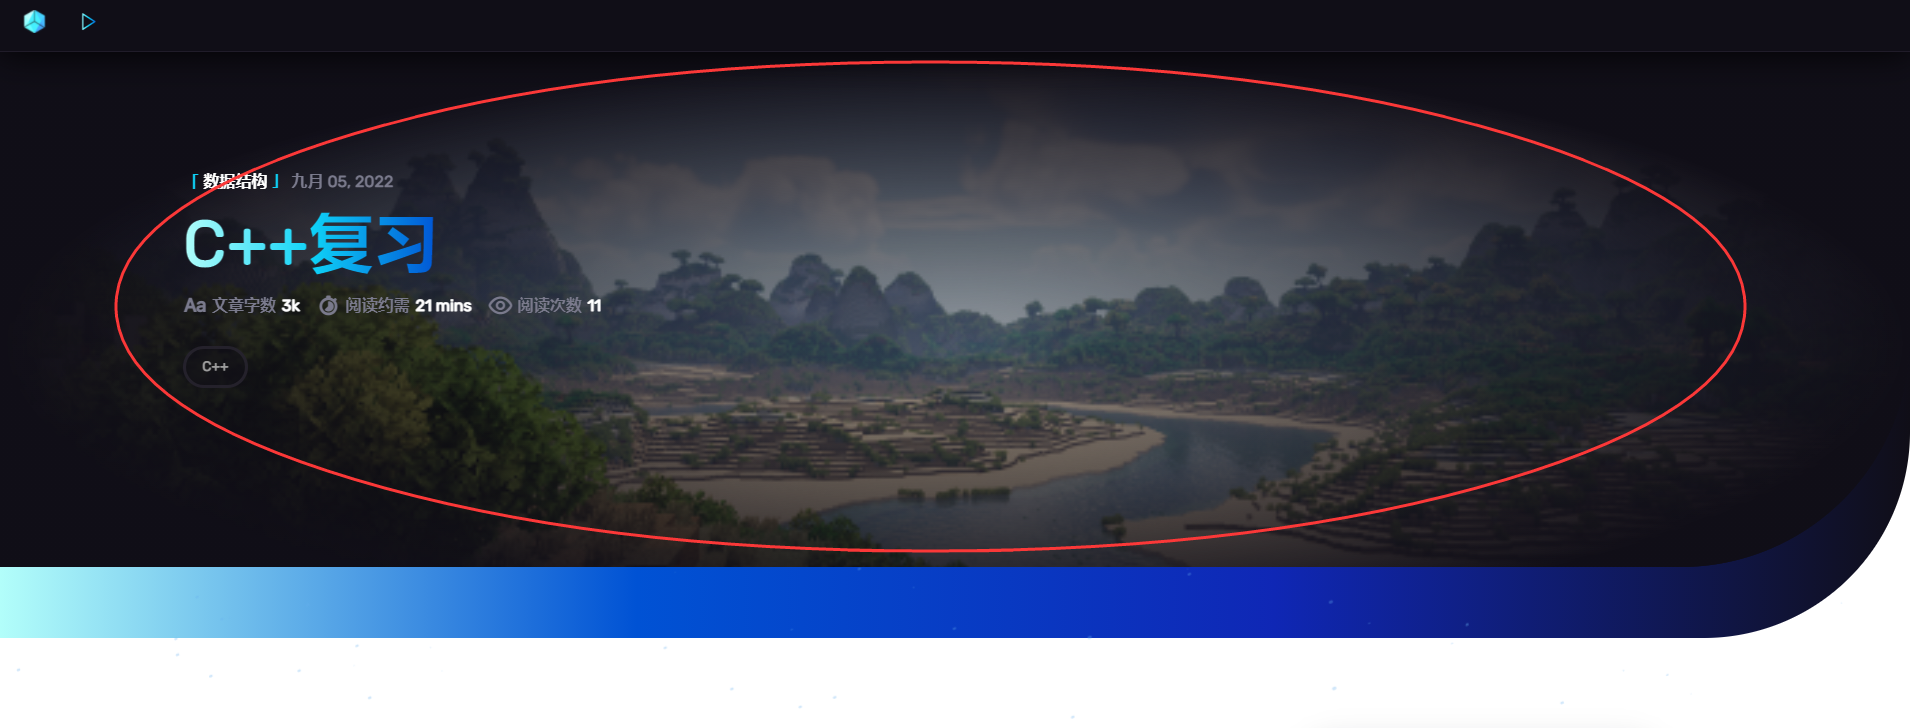
如果你比较细心的话,你会发现,本文的最上方就有一处径向渐变,它是一层阴影,形成了暗角,包围住本文的头图。
径向渐变语法:
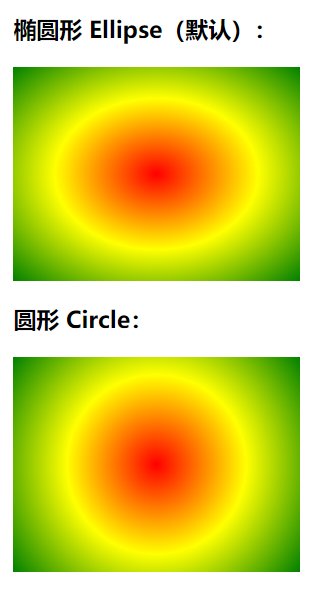
background-image: radial-gradient(形状, 颜色, ..., 颜色);形状可以是circle、ellipse(椭圆)。默认值为ellipse
#grad1 {
    height: 150px;width: 200px;
    background-image: radial-gradient(red, yellow, green); /* 标准的语法(必须放在最后) */
}
#grad2 {
    height: 150px;width: 200px;
    background-image: radial-gradient(circle, red, yellow, green); /* 标准的语法(必须放在最后) */
}
径向渐变也提供了重复函数 repeating-radial-gradient()
阴影效果
文本阴影 text-shadow
与和阴影相似
盒阴影 box-shadow
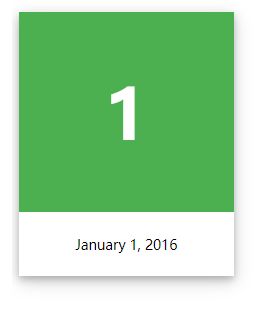
div.card {
  width: 250px;
  box-shadow: 0 4px 8px 0 rgba(0, 0, 0, 0.2), 0 6px 20px 0 rgba(0, 0, 0, 0.19);/* 这里是添加了两次阴影,来加强效果 */
  text-align: center;
}

div.header {
    background-color: #4CAF50;
    color: white;
    padding: 10px;
    font-size: 40px;
}

div.container {
    padding: 10px;
}
转换
转换属性 transform
transform支持以下函数:
- translate(50px,100px) 平移,向右50px,向下100px。(另有rotateY() 、rotateX() )
- rotate(30deg) 顺时针旋转30度
- scale(2,0.8) 缩放,延x轴变为2倍,延y轴变为0.8倍(另有scaleY() 、scaleX() )
- skew(10deg,30deg) 倾斜(拉伸成平行四边形)(另有skewY() 、skewX() )
- matrix() 矩阵变换,一个矩阵变换函数能实现上面大部分效果(比较复杂,不再描述)。matrix接收6个或16个值,实现一些2d或3d的效果
transform: rotate(30deg);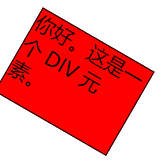
动画
我们通过@keyframes 来声明一个动画,并在某个元素的animation属性上绑定该动画
div
{
	width:100px;height:100px;background:red;
	animation:myfirst 5s;/* 绑定动画,并指定播放时长 */
}

@keyframes myfirst/* 声明一个名为myfirst的动画 */
{
	from {background:red;}
	to {background:yellow;}/* 使用from、to来指定始末态 */
}
(动画效果不在此处展示)
div
{
	width:100px;height:100px;background:red;
	animation:myfirst 5s;
}

@keyframes myfirst
{/* 使用百分比来指定动画播放到某时间点,达到某状态 */
	0%   {background:red; left:0px; top:0px;}
	25%  {background:yellow; left:200px; top:0px;}
	50%  {background:blue; left:200px; top:200px;}
	75%  {background:green; left:0px; top:200px;}
	100% {background:red; left:0px; top:0px;}
}
(动画效果不在此处展示)
其实animation属性还有更多可用值,本文不再描述。参考网站
多列(分栏)
列数 column-count
.newspaper
{
	column-count:3;
}
列间隙 column-gap
.newspaper
{
	column-count:3;
	column-gap:120px;
}
列分割线 column-rule
.newspaper
{
	column-count:3;
	column-rule:4px outset #ff00ff;
}
跨列能力 column-span
div
{
	column-count:3;
}
h2
{
	column-span:all;/* h2是div的子元素 */
}
列宽 column-width
.newspaper
{
	column-width:100px;/* 可以脱离column-count,直接生成分栏效果 */
}
用户界面
自定义尺寸 resize
resize可选值有:both、horizontal、vertical,分别是自由变动大小、只能自由变动宽度、只能自由变动高度
div
{
	border:2px solid;width:300px;
	resize:both;/* resize需要和overflow搭配!!! */
	overflow:auto;
}
方框尺寸 box-sizing
此属性定义该元素尺寸的计算方式:(默认值为content-box)
content-box:假设你指定width为100px,那么这个盒子的大小=100+边框+内边距
border-box:假设你指定width为100px,那么这个盒子的大小=100-边框-内边距
inherit:从父元素继承box-sizing属性
外轮廓 outline
div
{
	width:150px; height:70px;border:2px solid black;
	outline:2px solid red;/* 指定外轮廓的样式 */
	outline-offset:15px;/* 指定外轮廓离border的距离 */
}
弹性盒子 重点!!!
媒体监测 @media
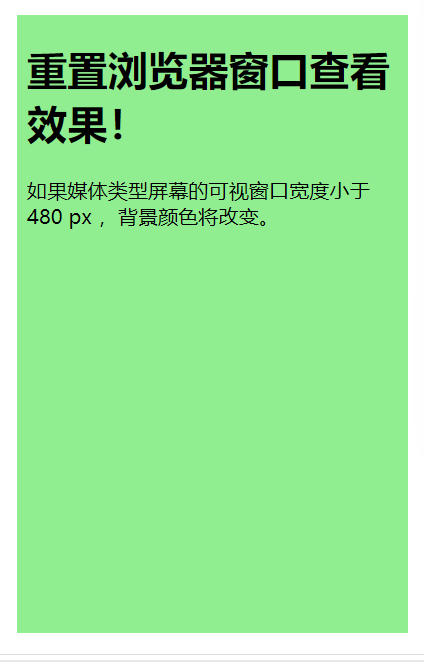
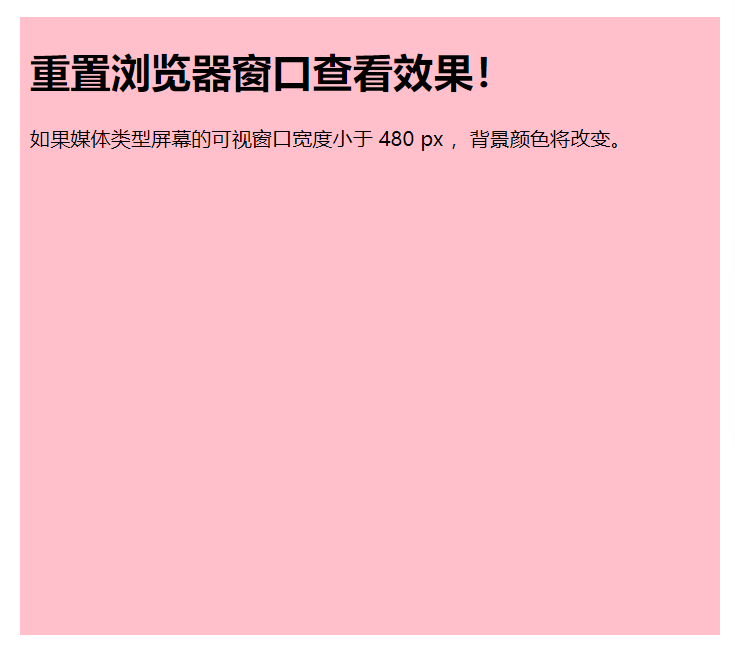
在屏幕可视窗口尺寸小于 480 像素的设备上修改背景颜色:
body {
    background-color: pink;
}

@media screen and (max-width: 480px) {
    body {
        background-color: lightgreen;
    }
}
屏幕可视尺寸小于 600 px 时,隐藏以下元素:
@media screen and (max-width: 600px) {
  div.example {
    display: none;
  }
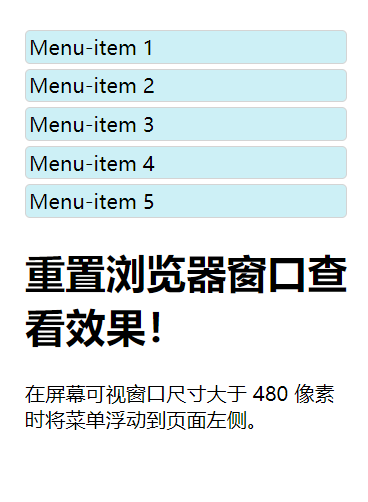
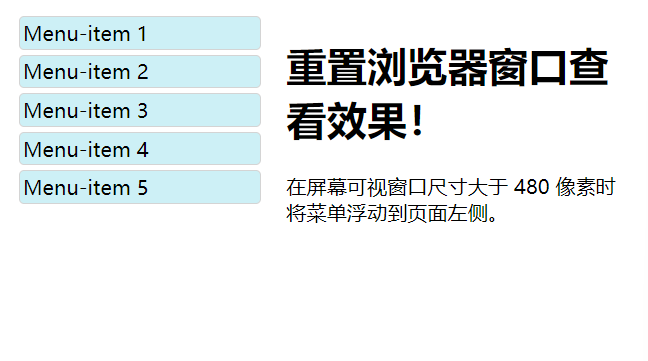
在屏幕可视窗口尺寸大于 480 像素时将菜单浮动到页面左侧:
@media screen and (min-width: 480px) {
    #leftsidebar {width:200px;float:left;}
    #main {margin-left:216px;}
}
CSS补充
display
隐藏元素
h1{visibility:hidden;}/*只是隐藏内容,仍然占据空间*/
h1{display:none;}
块元素、内联元素
块元素,占用了全部宽度,在前后都是换行符。
块元素的例子:
- h1
- p
- div
内联元素只需要必要的宽度,不强制换行。
内联元素的例子:
- span
- a
li{display:inline;}/* 将li强制转换为内联元素 */
span {display:block;}/* 将span强制转换为块状元素 */
position
position 属性的五个值:
- static 静态定位
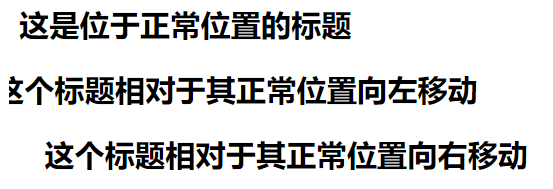
- relative 相对定位(相对于正常的兄弟元素)
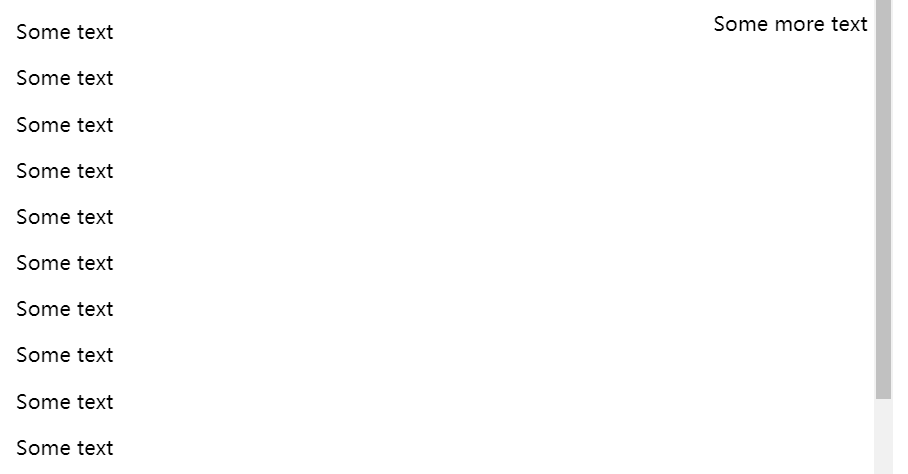
- fixed 固定定位(相对于浏览器窗口是固定的)
- absolute 绝对定位(相对于已定位的父元素,如果没有,则相对于)absolute定位的元素不占据空间,可能和其他元素重叠
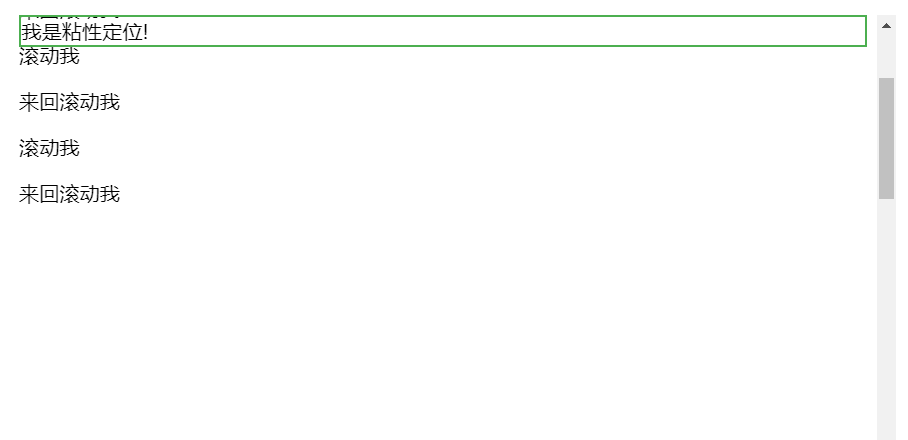
- sticky 粘性定位(当改元素因页面滚动离开可视区时,它会固定在可视区的边缘)比如
div.static {
    position: static;
    border: 3px solid #73AD21;
}
h2.pos_left
{
	position:relative;/* 相对于那些正常位置的元素,左移20px */
	left:-20px;
}
h2.pos_right
{
	position:relative;/* 相对于那些正常位置的元素,右移20px */
	left:20px;
}
p.pos_fixed
{
	position:fixed;/* 相对于浏览器窗口是固定位置 */
	top:30px;
	right:5px;
}
h2
{
	position:absolute;
	left:12px;
	top:0px;
}
div.sticky {
  position: sticky;{/* 粘性定位 */
  top: 0;
  border: 2px solid #4CAF50;
}
overflow
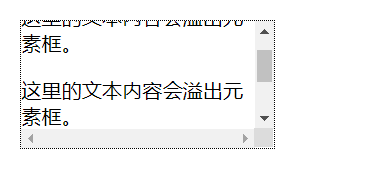
对于一些尺寸固定的元素,其内部的文本可能很多,导致“内容溢出”,此时,就要使用overflow:scroll(不管是否溢出,都添加水平、竖直滚动条)或overflow:auto(浏览器酌情添加滚动条),来添加滚动条。
div {
    width: 200px;height: 100px;border: 1px dotted black;
    overflow: scroll;
}
float
元素浮动
img {float:right;}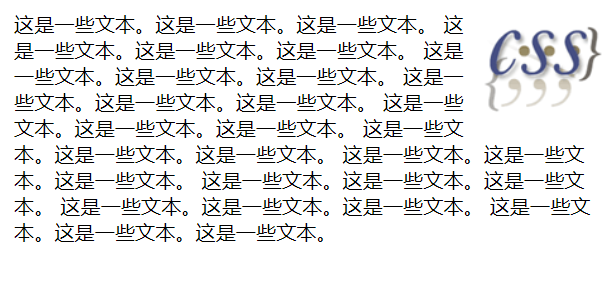
多个相邻元素的浮动
.thumbnail
{
	float:left;/* 多个元素都浮动时,会形成自动换行的效果 */
	width:110px;height:90px;margin:5px;
}
清除某元素的浮动
如果不清除图片之间一段文字的浮动,会出现下面的问题:
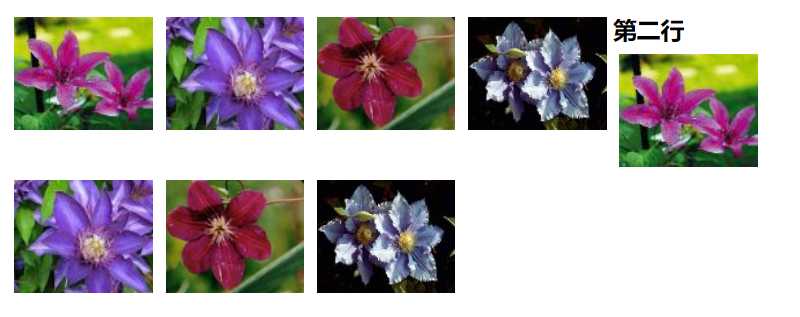
如果用clear属性除去浮动,则会正常:
.text_line{clear:both;}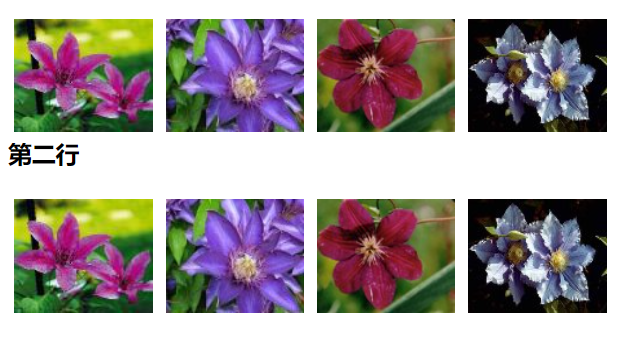
一些CSS技巧
网格布局技巧
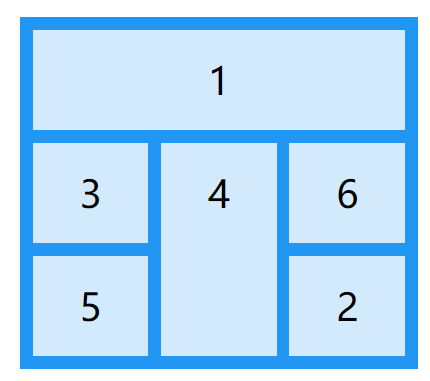
当HTML元素的display属性被设置为gird或inline-grid时,它就变成了网格容器,它的直系子元素也变成了网格元素。
| 属性 | 描述 |
|---|---|
| grid-gap | 指定网格见的间隙(边框) |
| grid-template-columns | 指定列数、列宽 |
| grid-template-rows | 指定行数、行宽 |
| grid-row-start | 指定某网格元素的起始线 |
| grid-row-end | 指定某网格元素的终止线 |
| grid-column-start | |
| grid-column-end |
.grid-container {
  display: grid;
  grid-template-columns: auto auto auto;
  grid-gap: 10px;
  background-color: #2196F3;
  padding: 10px;
}

.grid-container > div {
  background-color: rgba(255, 255, 255, 0.8);
  text-align: center;
  padding: 20px 0;
  font-size: 30px;
}

.item1 { grid-area: 1 / span 3 / 2 / 4; }
.item2 { grid-area: 3 / 3 / 4 / 4; }
.item3 { grid-area: 2 / 1 / 3 / 2; }
.item4 { grid-area: 2 / 2 / span 2 / 3; }
.item5 { grid-area: 3 / 1 / 4 / 2; }
.item6 { grid-area: 2 / 3 / 3 / 4; }